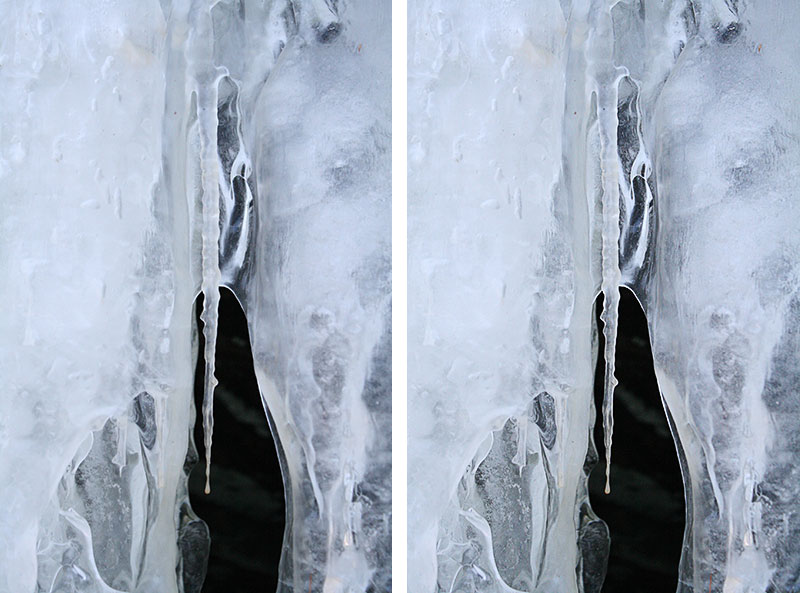

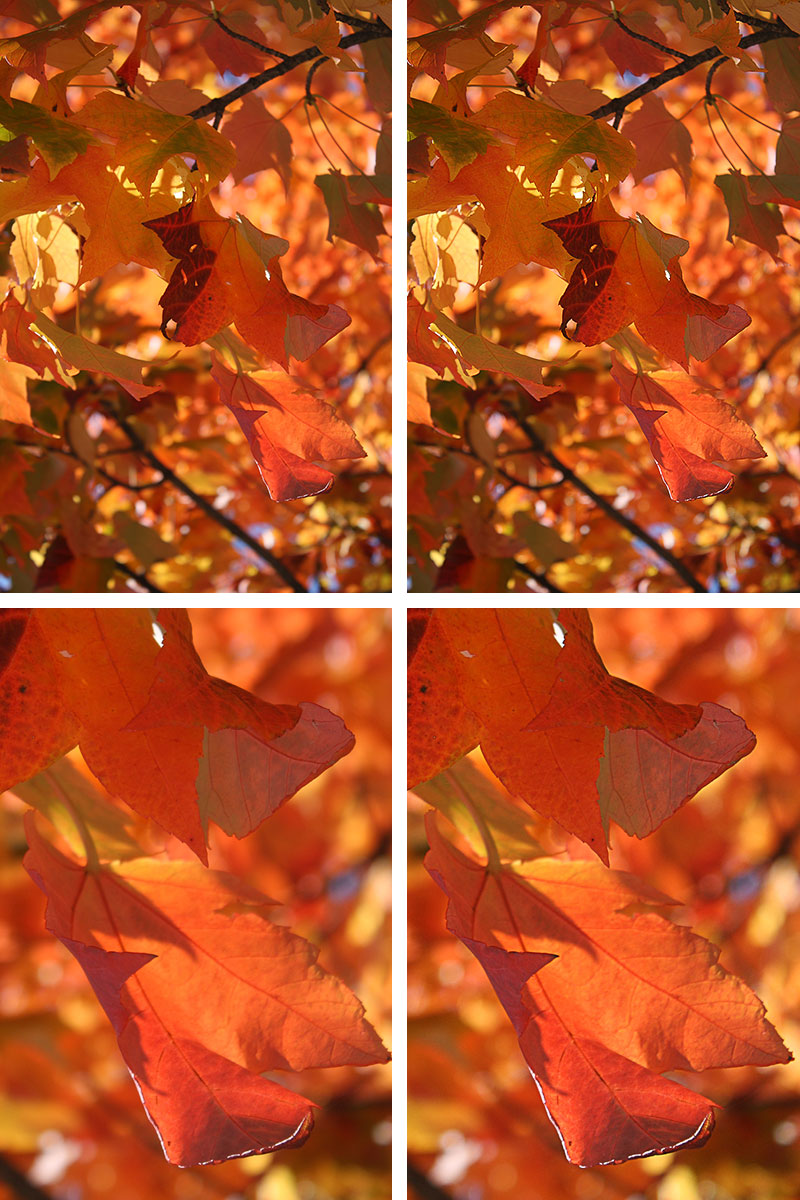
In three simple steps we can add a little more detail to virtually any photograph. It’s a very nice effect that makes any photo look like it was taken by a slightly more expensive camera.
It also works on people.
It is a very good effect for bringing out facial hair and eye detail. It doesn’t effect the colour or add any unwanted shades to the picture.
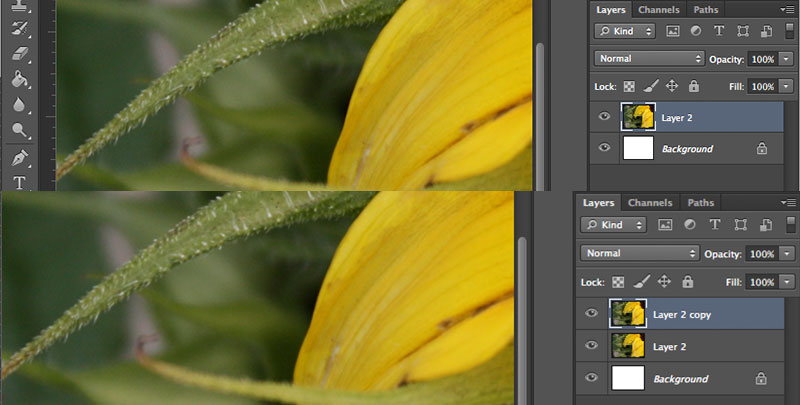
I select the layer and press cmd + j, or ctrl + j as a keyboard shortcut to duplicating a layer.
You could also select Layer -> Duplicate layer in the top tool bar.
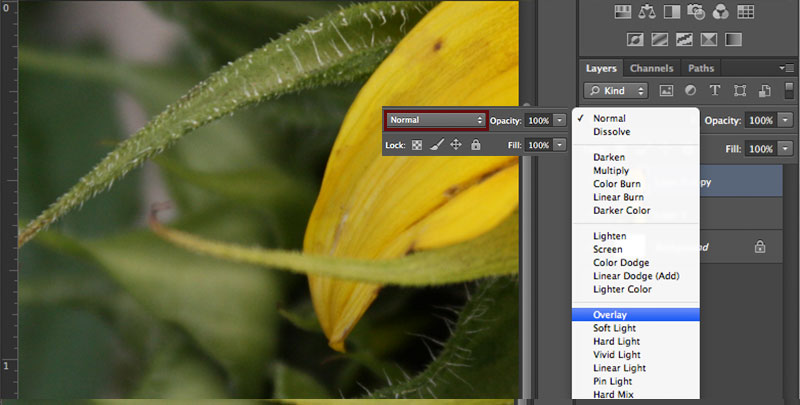
All of these layer adjustments are really cool to experiment with but I have found Overlay and Soft Light are the best for this photoshop effect of adding detail.
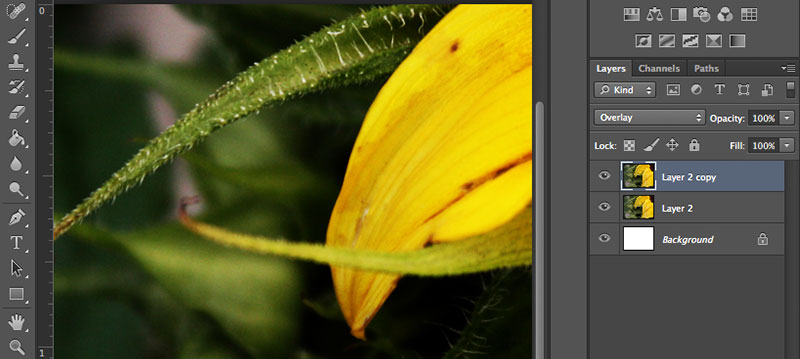
The Overlay layer adjustment adds a lot to the picture but it adjusts too much of the original colours and shades. We will add the detail first, and then we can experiment with colour correction after.
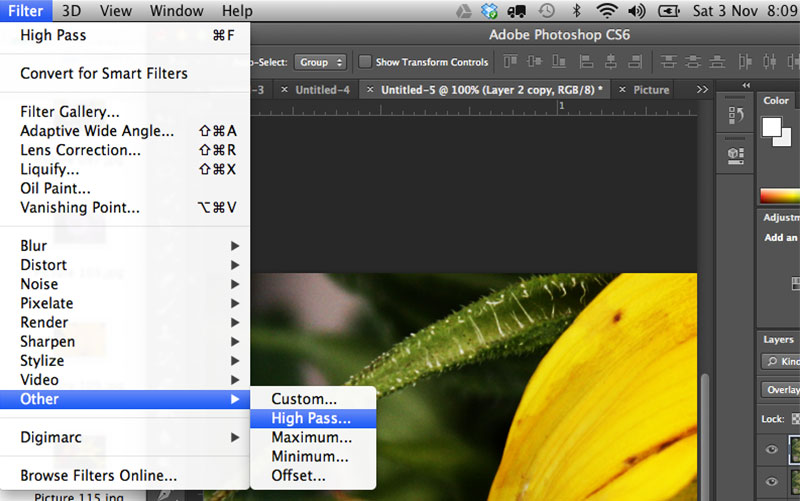
Located in to top menu under Filter. Search for the other tab and select High Pass.
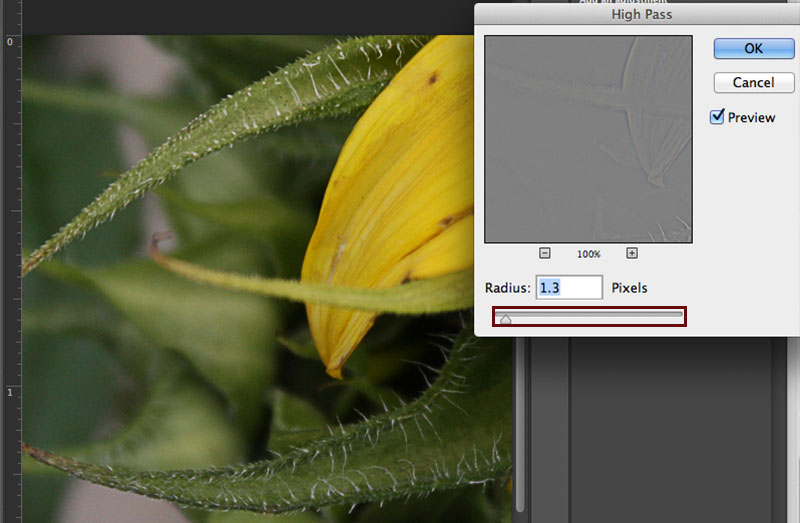
Be careful, if you add too much detail the picture starts to look “photoshopped”. I usually don’t ever go above 3 when working with very large picture sizes and 0.8 to 1.5 with smaller pictures sizes.
I always apply this as the first effect to any photo. It’s good to touch it up without adjusting too much of the original photo first. I always keep a copy of the layer merged together before I begin any other experimentation with colours.
It pretty much works on any picture.