


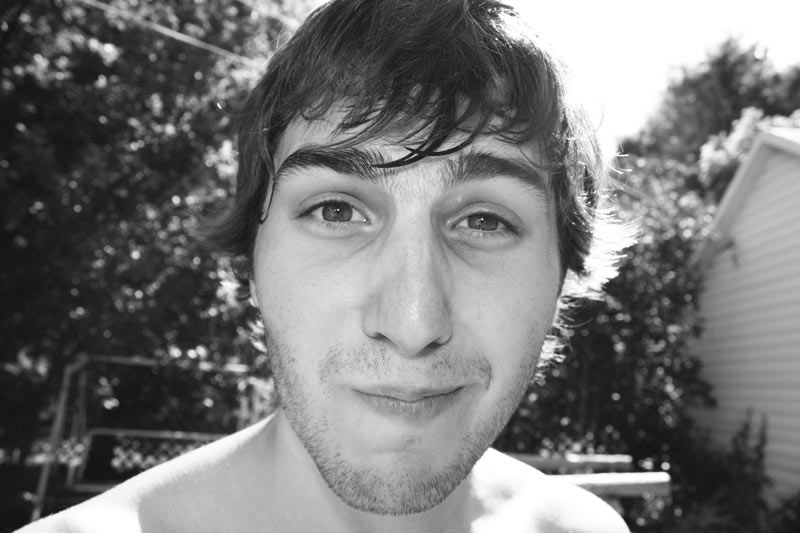
I started by creating a black and white layer above the original picture. Adjusting the contrast and brightness levels.
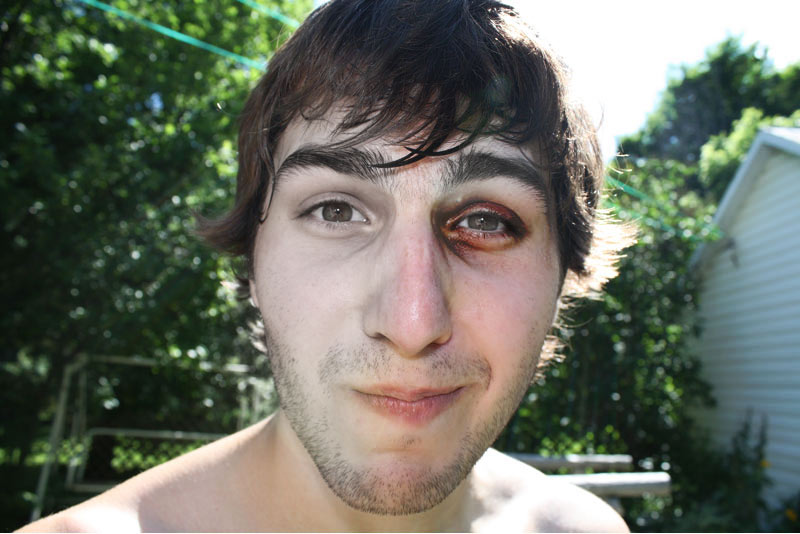
Blending the black and white layer with the original layer and using the burn tool shows some early results.
The texture comes from a picture of paint peeling on a deck I took. Loads of colour correction later and some early blending results in this.

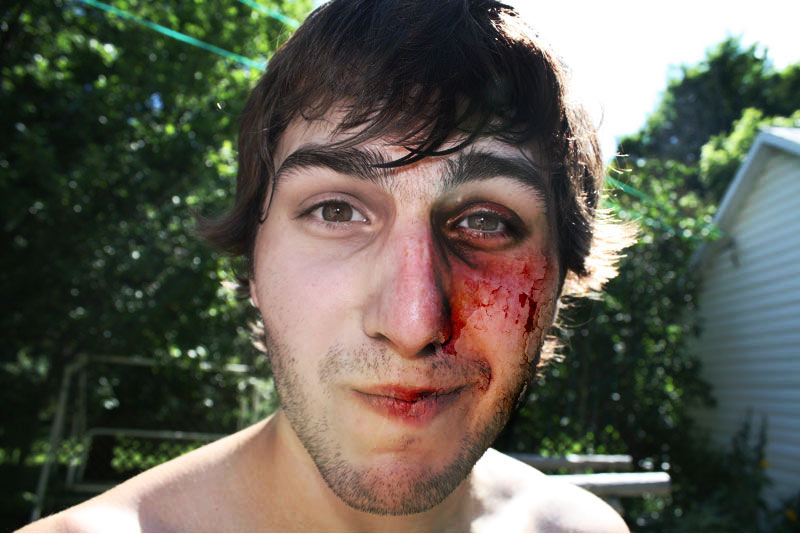
I adjusted the overall brightness of the picture by doing some layer overlays and colour corrections. I then took bark from a tree to work out more detailed texture. I took a lot of time on the eye area.
Lots of detail. Blending more textures, the zits are actually pictures of ice from my ice climbing adventure. I also added veins to the other side of his face.
This was the most time consuming period and detailed part of ironing out the textures. After I had everything I needed I could work on the overall feeling with the tone of the colours.